
I had my poster presentation on friday! i was very nervous. Luckily for me though half of the class wasn't in so
i wasn't as bad as i would have been, plus running thought the giant pile of leaves outside my house drastically improved my mood :) So the presentation didn't go as bad as another modules presentation, my tutor thought it was well presented, i just need to wait on final marks to see how that fully went. Fingers crossed! so in the mean time I've been creating some props to fill my interior starting with the kitchen!

I begun making bottles, some jars, some more pots and some knives so i can start to give my interior some personality and interest. Ive fully unwrapped the small window and finally figured out how to add a second material in UDK. I thought i had it figured out however when i went to check, to start creating some glass shaders, i realised i didnt create the second material in the way that UDK would pick it up. After a bit of google and some youtube tutorials i soon solved this. so after reimporting my window pieces (and redoing an unwrap as i realised i had been stupid with it) i finally have things working smoothly(ish) again. i can guarantee something ill crop up soon and throw that confidence out the window.

I am slowly catching up i think to my original shedual, i really need to stop doolaying around when i am starting to get demotivated though. I think some all nighters are in order to catch up. Maybe if i just focus on modelling instead of modelling and unwrapping which is what i seem to be doing ATM i might get somewhere, or at least make it look like am getting somewhere.

So tonight i was unwrapping and light mapping and i was starting to see UVs on everything i saw, so to stop myself from becoming reluctant to work i decided to start a bit of texturing. i know its not in my plan to texture yet but if you knew the droneness i was feeling you'd understand. So there is plenty of layers on this, i took the colour off it and am trying to replicate my own colours. i think am starting to get there on the right side of the wood which is the bark area of the log however i think i need to make the left side look a lot more worn. I also need to look more into albedo lighting/texturing before i finish this properly.
I downloaded the CrazyBump Mac Beta too, so this will help when travelling back home this christmas as i can fully texture on the laptop then. unfortunately you cant add your own mesh you only have the option of the ball, column or box. I am most likely going to have to find a different software for that.
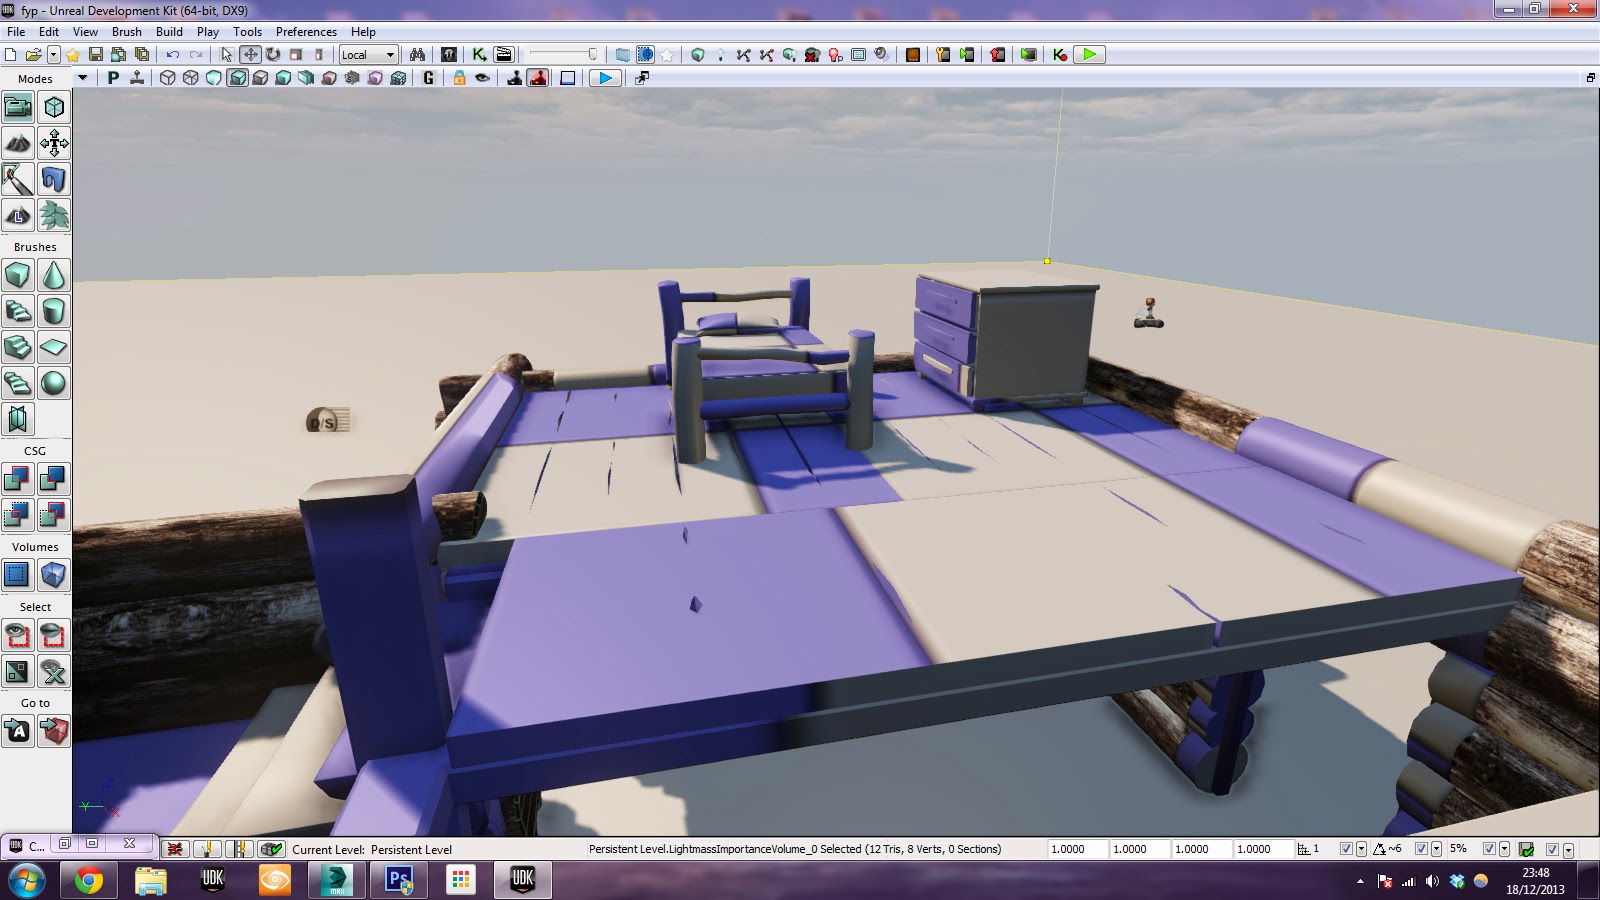
Also while i am updating I've slowly been sorting out the UV shells so that the text texture lines up with each other. I will be using this as a base texture, but slightly more edited as it currently has horrible symmetry lines running though it. The main wall and corner pieces line match up. As shown in the image above i am half way through sorting the small window wall out. The other meshes shouldnt take to long to sort as its just moving lines up/down.
Tomorrow i hope to have a bit more modelling done and i think i will either finish off the fireplace or sort the rest of the structural elements out.


