I spoke to one of my tutors this week and he helped me realised that i can get more done blocking everything out first instead of making something then unwrapping it (how i was previously working).
He gave me a lot of help in terms of direction and how the cabin should look, particularly on the walls. The walls was an area that i was uncertain in, i didn't know if i should do the walls as actual logs or planks. I saw some images that used horse hair plaster between planks that i thought would give a twist on the colour scheme as one of my main issue with the colour scheme is that the interior will look too brown. After talking to my tutor he explained that at first it might look interesting but it would probably loose interest after a while, logs would be more fun to model, and he was right i have enjoyed modelling the logs probably more than i would have with planks, this way i can give them all a unique feel and make the cabin look traditional.
Another issue raised is how to make the walls. usually i would use modular pieces; a corner piece, a main wall piece, a window piece and a door piece. Usually this would work however all of my walls are different sizes as my cabin is an 'L' shape. Below are the outcome of how the modular set would work.


To overcome this issue i think i am going to have to have each wall as a separate mesh or at least in some cases half a mesh that can be mirrored.
I can model half of the back wall and mirror it across. I could quite possibly use the modular set for the right hand wall on the image above and will defiantly be using the corner pieces.
I will be using between 2 and 3 texture maps for the walls and roof. I hope to use my UV space wisely by overlapping a lot of the logs and rotating the UV's to give each one a slightly different texture. I've used this method before and found it extremely successful.


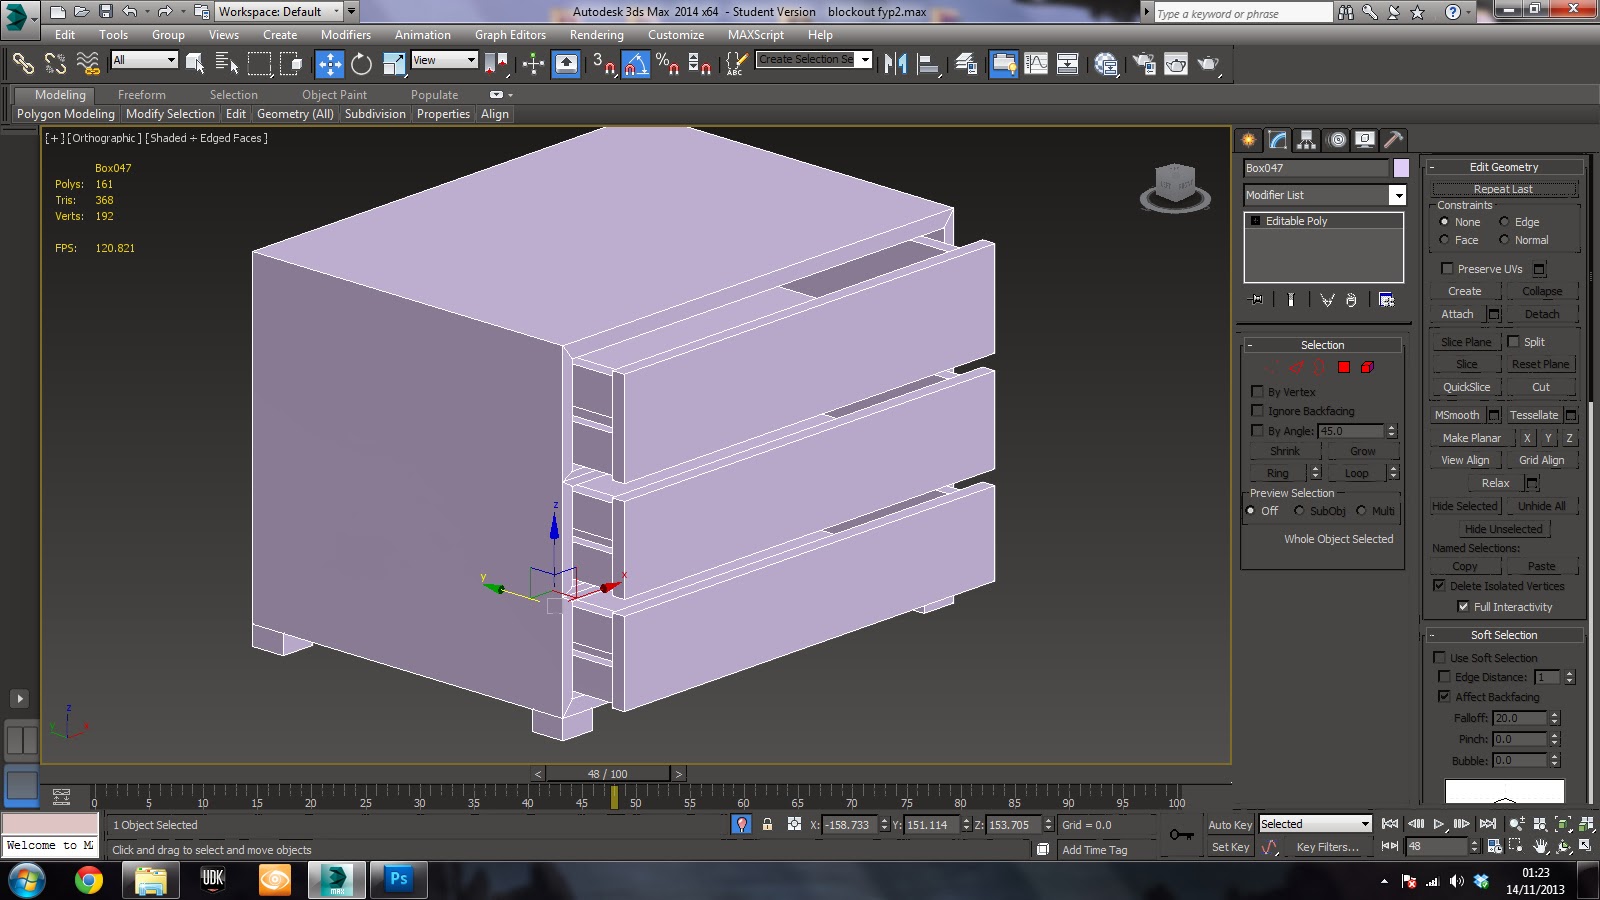
 Below is the block out so far. Just a quick update of how its beginning to look, i still need to catch up a lot from the week i missed, i would carry on working through the night however i need to be up early in the morning.

 I think i solved it!!


 To overcome this issue i think i am going to have to have each wall as a separate mesh or at least in some cases half a mesh that can be mirrored.


 I made a start on the fireplace a few days ago, at first i was going to start with the bottom and work my way up however this process didn’t work as planned. from this i worked from the inside out, this way i can duplicate the inside while keeping the outer wall unique. Currently i am making the stone look varied in hight and size, hopefully if all goes to plan i hope to have this finished by tomorrow (including the outer wall) ready for unwrapping.


